Perspective Crop Online Free
Drag four corners onto a page, sign, or whiteboard that was shot at an angle, then download that region as a straight rectangle.
Drop a photo here
or browse, or paste from the clipboard
Choose a photo
Drag each corner onto the page or sign, not onto the edge of the photo unless that edge is the subject.
Straightened preview
Four corners
You place each corner of the perspective crop. The page does not guess the paper edges.
No upload
The photo stays in this browser while you frame it and download the rectangle.
PNG, JPG, WebP
Save the straightened region in the file type you need. A PDF is a later step, not this one.
Also on this site: Crop Image · Rotate Image · Split Image
What a perspective crop does
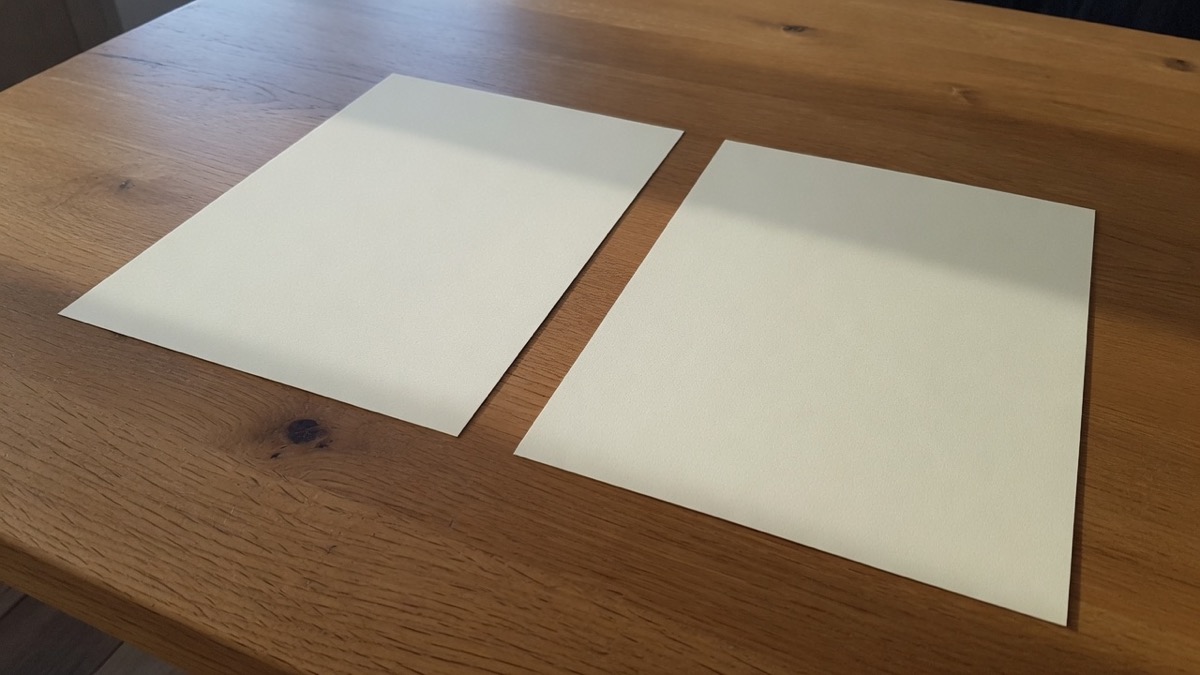
A perspective crop takes four corners you place on a photo and remaps the shape inside them into a straight rectangle. A normal crop can only cut a level box. If the paper, sign, or screen in the picture leans, that lean stays in the file. This page does the other job: you mark the real corners of the flat thing, and the tool pulls that region head-on.
Phone photos of contracts, receipts, notes, business cards, and whiteboards come out keystoned because the camera was not square to the page. A perspective crop frames the page itself, not the photo edges, so the download looks closer to a scan: straight edges, readable lines, ready to file or email. The same move works on a storefront sign, a slide on a screen, a poster, or a product box shot from the side.
The correction stays in this browser. The picture is drawn on a canvas on your device, then saved as PNG, JPG, or WebP. Nothing is sent to a server, so a contract or an ID photo does not need to leave the tab. A perspective crop is not a filter and not a 3D mockup. It only straightens the four-sided region you framed.
What you can do on this page
One photo, four corners, one straightened download. The controls match that job and leave the rest of the picture alone.
Four corners, not a fixed box
Each handle moves on its own. Put them on the corners of the paper or the sign, even when the shape in the photo is a trapezoid.
A live straightened preview
The panel beside the photo updates as you drag, so you can see whether the lines went straight before you save a file.
Size follows the frame
The download uses the edge lengths of the region you marked, so a wide sign stays wide and a tall page stays tall.
PNG, JPG, or WebP
Save PNG when the page has small text, JPG when you want a smaller photo, or WebP when the file is going on a site.
How to perspective crop a photo
The whole job is on this page. You do not install an app, and you do not send the file anywhere.
Add the photo
Drop a JPG, PNG, or WebP onto the box, browse for it, or paste it from the clipboard. The picture stays in the tab.
Place the four corners
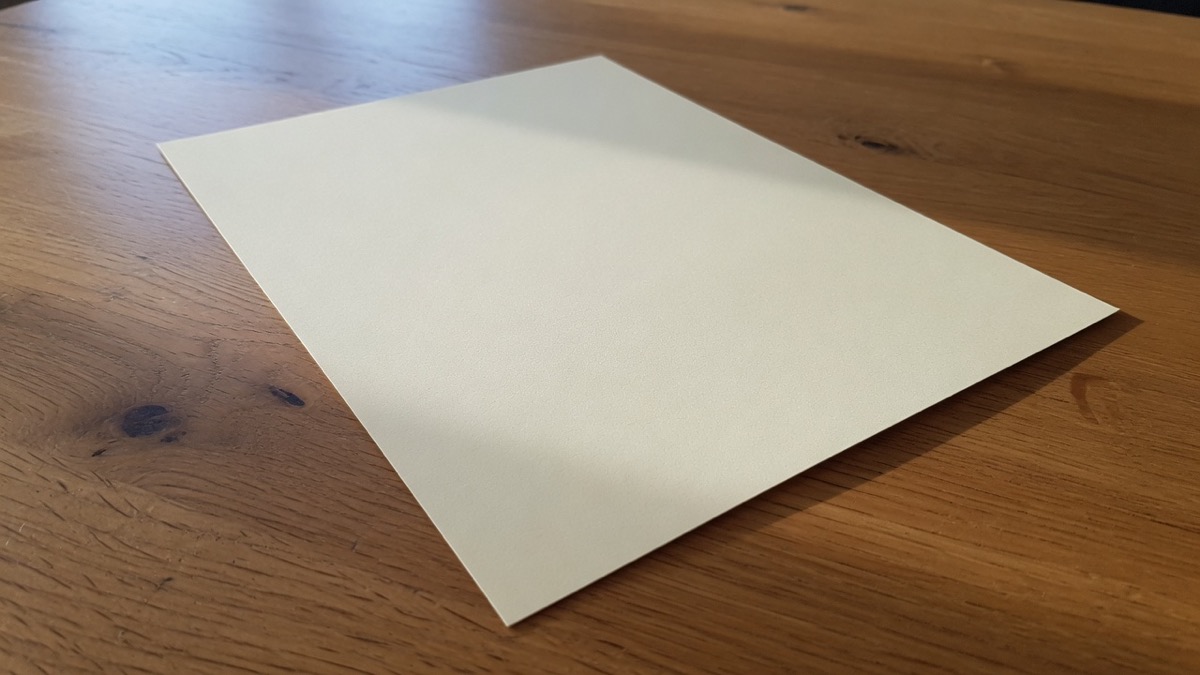
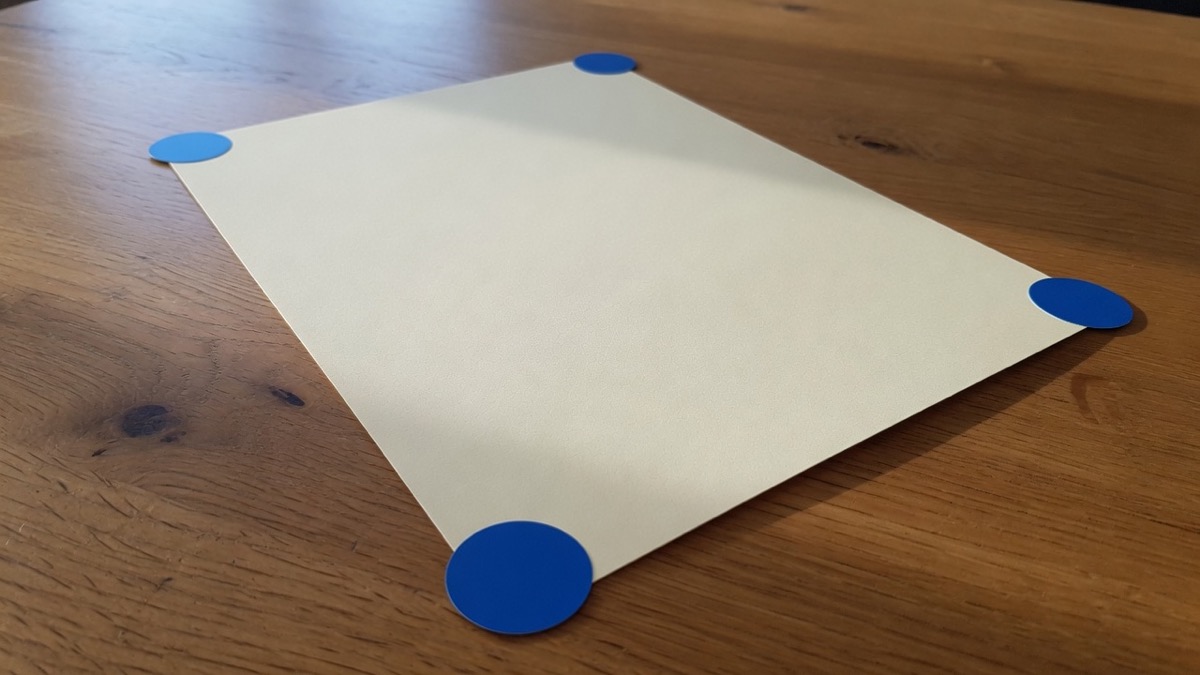
Drag each handle onto a corner of the page, sign, or screen. Follow the paper, not the border of the camera frame.
Download the rectangle
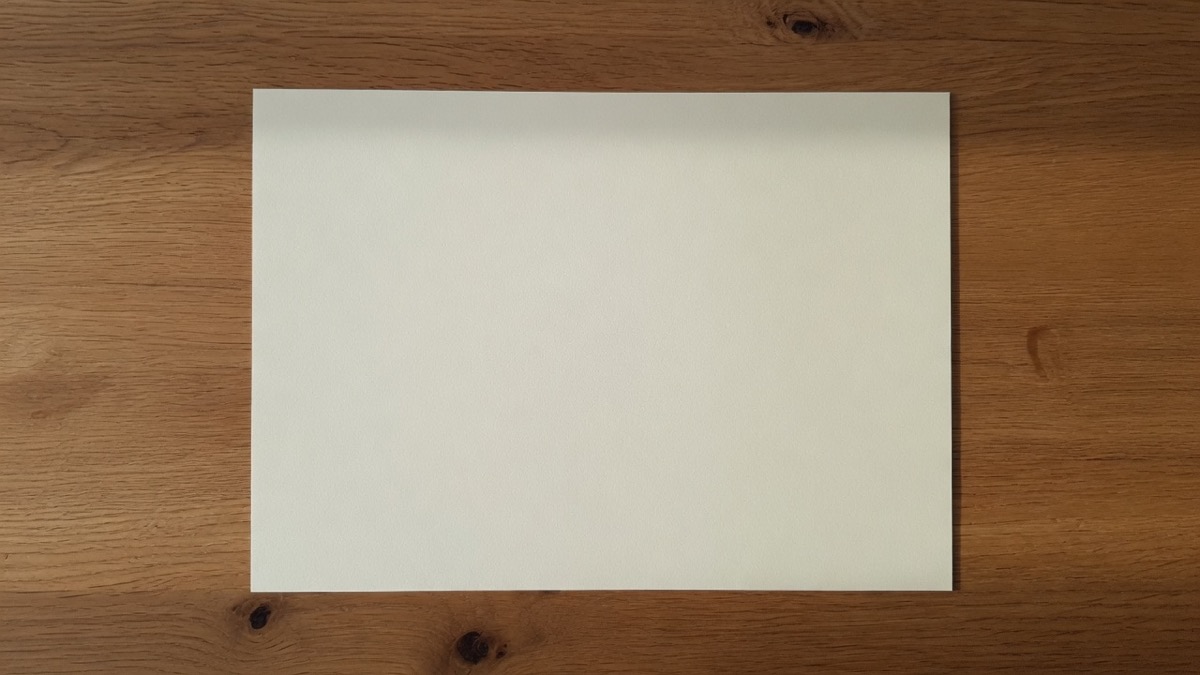
Check the preview, then save PNG, JPG, or WebP. Reset the handles if you want to start the frame again on the same photo.
Why the photo stays here
A perspective crop is often used on paperwork. The useful version of that tool does not ask you to upload the paperwork.
No account and no upload
The transform runs in the browser canvas. Close the tab and the photo is gone with it. There is no library of your files on this site.
The rest of the picture is left out
Desk, fingers, and background outside the four corners are not in the download. You get the framed region, already rectangular.
Same light, same scene
The result is still your photo, resampled. It is not a new picture and not a scan from a different page.
Works on a phone
The handles are large enough to drag with a finger. A desktop is easier for tiny text, but a phone photo of a receipt can be framed here too.
Tips and limits
- Shoot a little less from the side when you can. A steep angle has fewer real pixels along the far edge, and no perspective crop can invent detail that the camera never recorded.
- Put the handles on the corners of the paper, not on the corners of the whole photo, unless the whole photo is the thing you want straightened.
- A curved book spine is not a flat quadrilateral. This perspective crop can square the page angle, and the curl along the gutter will still be there.
- A tilted horizon, where the whole picture needs a small rotation, is a different fix. Use Rotate Image for that. Come back here when one side of a flat object is wider than the other.
- This page does not find the paper edges for you, does not read the text, and does not turn the file into a PDF. Download the rectangle, then use whatever reader or PDF step you already have.
Jobs this perspective crop fits
Use it when a flat rectangle was photographed at an angle and you need that rectangle facing the camera.
Documents and receipts
Frame a contract, invoice, note, or receipt so the lines run straight before you file the picture or read it.
Signs, slides, and screens
Pull a whiteboard, a projected slide, or a storefront sign out of a side-on photo without keeping the room around it.
Boxes, posters, and facades
Square a product face, a poster, or a flat wall detail when you need the front view and not the oblique one.
What this page will not do
A regular crop on the Crop Image page cuts a straight rectangle and does not remap the pixels inside it. Use that when the subject is already square to the camera and you only need to trim. Use a perspective crop when the subject itself is skewed.
Rotating a photo levels a horizon. It does not fix a page that gets narrower toward the top. If the sea is tilted, rotate. If the document is a trapezoid, stay on this page.
Some editors also let you push the corners of the whole picture to fake a 3D tilt or a mockup. This perspective crop does not do that. The four handles mark a region to extract and flatten. They do not warp the entire photo into a new pose. Guides for Photoshop, GIMP, Photopea, or a phone app are a different product; the steps above are the ones this page actually runs.
Questions about perspective crop
What does a perspective crop do?
A perspective crop marks a four-sided region in a photo and remaps it into a straight rectangle. You place each corner yourself, so a skewed page or sign can be pulled head-on instead of staying tilted inside a normal crop box.
How do I perspective crop a photo online?
Open this page, add the photo, and drag the four handles onto the corners of the thing you want straightened. Watch the preview, then download PNG, JPG, or WebP. The picture never has to be uploaded.
What is the difference between a crop and a perspective crop?
A normal crop cuts a level rectangle and leaves the pixels inside unchanged. A perspective crop lets every corner sit on a different part of the subject, then warps that shape into a rectangle. That is the step a skewed document needs.
Can I flatten a document photo into a scan?
Yes, when the page is flat and you can see all four corners. Drag the handles onto those corners and download the rectangle. It will not remove shadows or turn handwriting into typed text, but the edges will be straight.
Does a perspective crop fix a crooked horizon?
No. A crooked horizon is a rotation of the whole picture. Use the rotate page for that. This perspective crop is for a flat object whose edges converge because the camera was off to the side.
Will straightening the photo lose quality?
The tool resamples the framed area. Detail that the camera actually captured stays as clear as that photo allows. A very steep angle has fewer pixels on the far edge, so that edge can look softer. Shooting more from the front helps more than any setting here.
Is this free, and does the photo get uploaded?
The perspective crop on this page is free. There is no account and no watermark. Processing runs in your browser, so the photo stays on your device while you frame it and download it.
Can I use this on a phone?
Yes. Add a photo from the camera roll and drag the four corners with a finger. A larger screen makes tiny print easier to aim, but a receipt or a whiteboard photo works on a phone.
Which file types can I open and save?
Open a JPG, PNG, or WebP, or paste an image from the clipboard. Download the straightened region as PNG, JPG, or WebP. This page does not accept a PDF or a video.
Can a perspective crop flatten a curved book page?
Only partly. It can square the angle of the page. It cannot uncurl the gutter where the paper bends into the spine, because that bend is not a single flat quadrilateral.
Is this the same as perspective crop in Photoshop or GIMP?
The idea matches those tools: four corners, then a straightened rectangle. This page does not walk through their menus, and it does not add their extra warp modes. You frame the subject here and download the result.
Does this read the words on the page?
No. A perspective crop only changes the shape of the region. Straight lines can make the text easier to read afterward, but this page does not run recognition or copy the words out for you.
Straighten the skewed page
Add a photo, set the four corners, and download the rectangle. It stays in this browser.
Open the crop